Growing cannabis involves a long process but to eliminate contamination, it is essential to dry and cure cannabis buds. The steps taken to eliminate contamination can be constructive as it helps the buds to be of supreme quality and great taste.

Why is it necessary to cure the marijuana buds?
When it comes to curing marijuana buds, patience is an essential part of the process that makes the cannabis buds flourish. Curing is not a long process and can take around a week to finish. In the beginning, it might seem slightly difficult, but once you cure the buds, it will help you achieve a great smoke. More extended periods of curing results in byproduct degradation, which might leave you with a bad taste, but with appropriate curing, you can enjoy it more.
With curing, the flavors remain intact. Cannabis gets its flavors from the molecules, which are known as terpenes. If you read at ILGM blog, you will learn to understand that the harvest’s shelf life is greatly enhanced with the process of curing. If the cannabis buds are cured appropriately, then the buds live for a prolonged period without any decrease in taste.
The following are the best ways that can be followed for curing the cannabis buds:
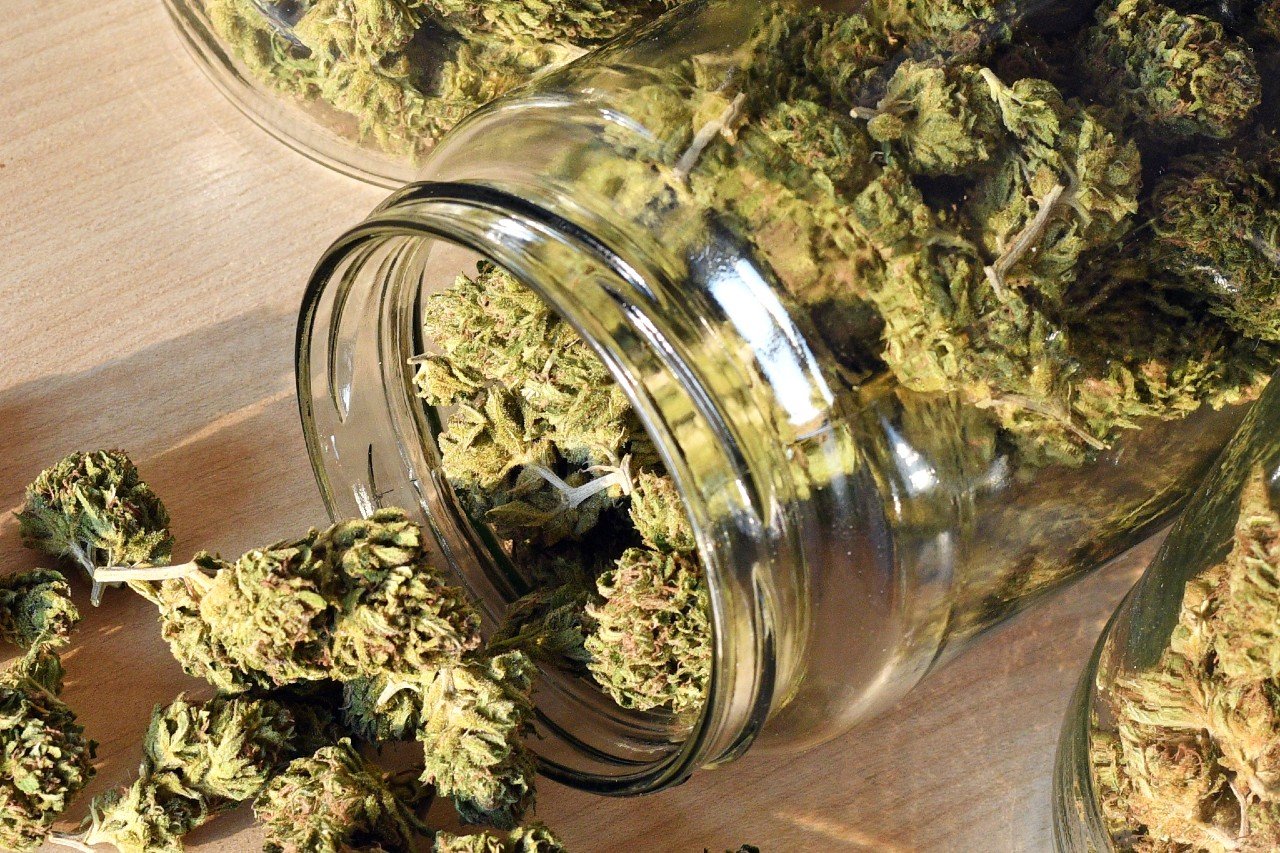
A method that involves opening up and closing of jars at the right time is known as curing. When dried flowers are placed in airtight jars, an environment is created suitable for enhancing the cannabis. The jars help in the formation of humidity to provide hydration to the exteriors.
The first step includes preparing the flowers. If the buds are dried up separately, you can go ahead with the process. However, if you desire to dry them with the branches’ help, then trimming will be required.
The second step includes placing cannabis into airtight jars. The best option is mason jars, as they are strong, and you can also monitor the buds’ growth during the process. The buds must be placed loosely into the jars in such a way so that it fills around 75% of the capacity. You must leave some room for the air passage, and you can test if the cannabis has dried up in order to continue with the process of curing. The containers must be shaken gently, and if the buds make a rattling noise, you can go ahead with the next step. However, if the stash does not make any rattling sounds, it indicates that it is still not the right time for curing, and some more time is needed.
The next step includes putting on the lids to the containers and putting them in a dark place. A cupboard can be the best place.
In the next step, monitor the buds and keep a close eye to rule out molds’ formation. Open the lids to check if there is an appropriate air exchange. With the right amount of humidity, you can keep the container as it is.
The last step involves opening the containers once every day and continue to maintain humidity. After around three weeks, your buds are ready and well cured.
Follow the steps as mentioned earlier to get the best results when it comes to curing.