
Community groups and volunteer initiatives frequently face the task of producing informative video material. Whether recording hands-on demonstrations, documenting local histories, or sharing educational presentations, video offers a direct way to communicate practical knowledge. However, community teams often encounter roadblocks when production relies on improvised habits. Without a clear framework, even modest video projects can quickly become disorganized, resulting in mismatched footage, misplaced files, and unnecessary frustration for volunteers.
Building a dependable video workflow does not require professional studio resources or an extensive background in film production. Instead, it relies on predictable routines, thoughtful hardware choices, and organized media habits that anyone on the team can replicate. When every contributor understands what needs to happen before, during, and after a recording session, projects move smoothly from initial concept to the final export.
Clarifying Purpose and Structuring Team Responsibilities
Every successful video project begins with an unambiguous definition of what the footage is intended to accomplish. Community groups frequently make the mistake of attempting to cover too many topics in a single recording session. A concise demonstration showing how to preserve garden seeds or assemble an emergency kit is far more useful to viewers than an unfocused, lengthy lecture. Before setting up any equipment, determine the single core takeaway for the viewer and identify who will benefit most from watching it.
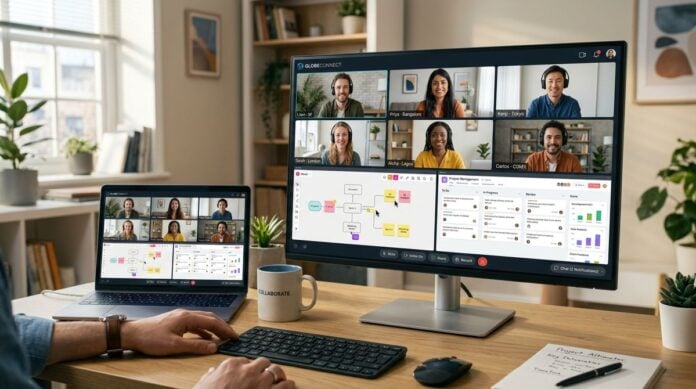
Assigning clear responsibilities prevents confusion during filming. Even in small volunteer teams, dividing duties ensures that essential tasks are not overlooked. One person can focus on guiding the presenter and keeping track of time, while another manages audio levels and camera framing. If your project involves coordinating remote participants alongside on-site volunteers, the collaborative methods outlined in our guide to running a hybrid community meeting offer valuable lessons for keeping distributed contributors aligned and engaged.
Preparing a simple outline or storyboard keeps everyone focused during recording. You do not need a fully scripted dialogue, but having a written sequence of main points, visual cutaways, and key demonstrations prevents rambling and simplifies the editing stage later. Keep this outline visible near the presenter so that transitions feel natural and structured.
Selecting Practical Hardware for Visual Consistency
Video equipment for community initiatives should emphasize reliability and ease of use over cinematic complexity. High-end production gear often features complicated menus, heavy rigging, and steep learning curves that discourage team members from operating the equipment independently. A compact camera system with responsive autofocus, a dependable external microphone connection, and a straightforward interface is generally the ideal choice for volunteer-driven environments.
When choosing equipment, evaluate how easily volunteers can transport, mount, and configure the camera in everyday community venues. Handheld devices designed specifically for video creators and vloggers often provide the best balance of portability and image clarity. To understand how various compact recording bodies compare in terms of daily handling and core features, browsing specialized overviews on bestcameraworld.com can help your group identify straightforward hardware that fits regular filming demands.
Visual consistency also depends on how you handle ambient lighting. Uncontrolled sunlight from nearby windows can cause sudden shifts in brightness across different takes, making clips difficult to edit together cleanly. Whenever possible, set up your recording station in an area where you can diffuse daylight using plain white curtains or position a pair of basic diffuse lamps to maintain even illumination on the subject throughout the session.
Standardizing the Pre-Filming Routine
A significant portion of video mistakes happen in the first few minutes of a shoot, often because someone forgot a minor technical step. Developing a brief, repeatable pre-filming checklist creates a calm environment and ensures that every technical element is verified before the presenter begins speaking. This routine should be written on a laminated card or digital note kept directly inside the gear storage bag.
Before pressing the record button, the production lead should step through several critical verifications to confirm that the environment and hardware are ready for capture:
- Inspect audio input levels through headphones to catch low hums, echoes, or nearby air conditioning noise.
- Format the memory card in the camera and verify that adequate storage capacity remains for the planned session.
- Lock manual exposure and select a fixed white balance setting to prevent distracting color changes during takes.
- Verify framing boundaries so the subject remains centered without clipping gestures or demonstration items.
- Conduct a short test recording of several sentences, playing it back immediately to ensure sound and picture sync.
Running through these verifications takes only a couple of minutes, but it prevents the frustrating discovery that an entire demonstration was recorded with muffled audio or improper exposure. When everyone knows the checklist is standard procedure, volunteers feel confident in their technical setup.
Establishing Organized Media Management and Software Systems
Capturing video is only half of the journey; organizing the resulting raw files is equally crucial for long-term sustainability. Without a disciplined file structure, clips end up scattered across private laptops, misplaced memory cards, and personal email threads. Create a uniform folder taxonomy on a dedicated external drive or centralized shared repository, labeling folders by date, project name, and take number.
As your community video archive grows, generic consumer storage tools can become unwieldy, slow, or insecure. Teams that manage extensive video catalogs, restricted member access, or custom educational portals often find that standard commercial software fails to meet their unique operational needs. When your organization requires tailored technical architecture to streamline content distribution and data handling, partnering with digital engineering teams like primrose-soft.com can resolve complex software bottlenecks and build dependable infrastructure for your media assets.
In addition to storage, define clear rules for file naming and backup preservation. Original camera files should be marked as read-only copies and backed up in separate physical or cloud locations before anyone begins trimming or cutting. Keeping raw media pristine ensures that an accidental edit or corrupt project file never wipes out irreplaceable community recordings.
Implementing a Structured Review and Distribution Process
Once an edit is assembled, establish a simple review cycle to verify accuracy and tone before publishing. Reviewing video can easily stall if too many stakeholders offer conflicting opinions on stylistic preferences. To keep the process moving forward, restrict initial feedback to factual accuracy, clear sound quality, and proper identification of community members and locations shown on screen.
Create a standard review window, allowing designated coordinators a set period to submit notes. Encourage reviewers to note specific timestamps rather than offering general impressions. Timestamped notes eliminate ambiguity, allowing the editor to make necessary corrections quickly without having to guess which segment required attention.
Sustaining a community video initiative comes down to building trust in the process. By keeping hardware straightforward, sticking to regular preparation habits, and establishing organized systems for file management and review, your team can produce dependable, high-quality video resources that serve your community for seasons to come.